Originally published on June 20, 2018
Regular maintenance is essential for keeping your whole-house generator running smoothly. This tune-up guide will walk you through the step-by-step process, which you can complete in 30 minutes with just a few tools and parts.
Why Tune Up Your Generator?
A whole house generator can last 15-30 years, but only when properly maintained. Regular inspections, cleaning, and maintenance can help prolong the lifespan of your standby generator.
Maintaining your system will also improve its efficiency, which you will see in its effectiveness and your utility bills. A poorly run generator can be extremely costly to run, so make sure yours is optimized to run at full capacity.
The most important reason to regularly tune up your generator is that neglecting maintenance can make it more likely to fail during power outages. Regular maintenance is often overlooked, as a backup generator is sometimes forgotten about until you really need it. For reliable power, even during outages, follow these generator maintenance tips.
What You’ll Need for Whole Home Generator Maintenance
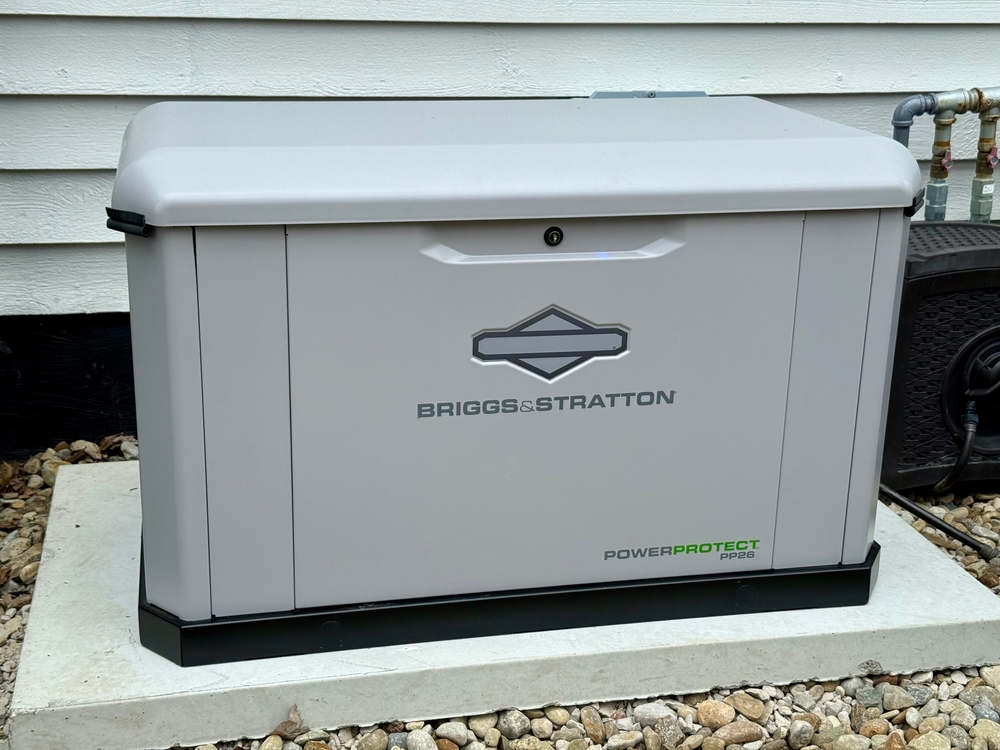
This guidance is for tuning up a Briggs & Stratton whole-house generator. It includes specific instructions on changing the spark plugs and cleaning or replacing the filter.
For this DIY project, you’ll need:
- 4 quarts of oil
- Oil filter
- Air filter
- Pre-filter
- Two spark plugs
- Spark plug remover.
Step-by-Step Tune-up Instructions
Check your tools and make sure to use the correct oil type for your generator model. Then, you’re ready to get started!
Step 1: Replace the Air Filter and Pre-Filter
Locate the filter housing on your generator and remove the cover screw. Remove the old air filter and pre-filter, and replace them with new ones designed for your model. Paper air filters can be immediately replaced, whereas foam filters need oiling before being fitted. Check what type of filter your system has and make sure you replace it like-for-like.
Step 2: Change the Spark Plugs
Disconnect the spark plug lead and clean around the area to avoid debris entering the combustion chamber when you remove the plug. Then, use a spark plug remover to remove the old plugs.
After cleaning off any debris, install the new spark plug, taking care not to overtighten it and then reattach the spark plug lead. If the spark plug needs adjusting, you may need to use a spark plug gauge to measure the gap between the two electrodes at the tip of the spark plug.
Step 3: Change the Oil and Oil Filter
Start the generator and run it until it’s warm. Once warm, stop the engine and remove the spark plug. Place a container underneath and then remove the drain plug to allow the old oil to drain. Not all standby generator models will have an oil filter, but if yours does, remove the old oil filter and replace it. Refill with 4 quarts of the recommended oil.
Step 4: Test Your Generator
Once reassembled, plug in the generator and run for a few minutes to ensure everything is working properly!
Safety Tips for DIY Generator Maintenance
You can service your fuel system at home, but always remember generator safety before operating or disassembling your backup generator.
When changing the oil, it helps to briefly turn on the engine, as this warms the engine oil and allows it to drain quickly and completely. However, for all other maintenance checks, you should wait until the engine of your home standby generator is cool to help prevent burns from hot metal components.
You must also dispose of used engine oil properly. As a hazardous waste, used oil needs to be taken to a recycling center or auto parts store. Find out more about responsibly disposing of used engine oil in Dayton, Ohio.
These generator safety tips will help you safely operate and maintain your generator, extending its lifespan and giving you peace of mind.
When Generator Maintenance Requires an Expert
While these generator maintenance tips cover the basics, there are some instances when you should defer to the pros. Any issues involving the generator’s wiring, electrical components, or fuel system require professional repair.
If you experience any signs of safety concerns, such as the smell of gas, burning, or melted plastic, call an expert right away. Other indications of issues with your generator include leaking fluids, like fuel leaks, and your carbon monoxide detectors being triggered.
The Briggs & Stratton smart generator has several intelligent features that automate backup power during an outage. If you’re having issues with error codes or any of the smart generator’s functionality, our highly trained expert electricians can help.
Our friendly team of electricians is also happy to carry out generator maintenance and servicing, so if you don’t feel comfortable performing a tune-up yourself, get in touch to book your service.
Your standby generator is a lifeline during storm season, so if in doubt, call a local expert to ensure everything is in full working order when you need it.
Schedule an Annual Inspection of Your Home Standby Generator
If you choose to complete an oil change, filter replacement, and spark plug installation yourself, we still recommend a professional annual inspection to ensure your standby generator will perform in case of emergencies.
Our electricians are trained to spot the early signs of a faltering generator, which can help prevent costly repairs further down the line. Having a professional carry out the work also avoids the risk of potentially voiding your warranty.
Do you have questions about whole-house generator maintenance? Our expert electricians at A-Abel in Dayton, Ohio, are here to help. Contact us today for more information or to book a free estimate for generator installation.
- How to Reduce Allergens in Your Home with Your HVAC System - July 30, 2025
- How to Reduce Allergies Caused by Poor Indoor Air Quality - July 25, 2025
- Why Is There Ice Buildup on My AC Unit? - June 30, 2025